Getting started with MicroPython on the PSoC6™
This tutorial will guide you to get started with running MicroPython on the PSoC6™ microcontrollers. There are only a few step keeping you away from enjoying the python programming experience together with the possibilities of PSoC6™ microcontrollers.
Let’s get started!
Requirements
The only required hardware is:
A PSoC6™ board from the Supported boards list.
A microUSB cable.
Power the board
Connect the USB cable to your computer and the micro USB to the board debugger. All the PSoC6™ boards come with a on-board debugger required for flashing/debugging operations during development. Please refer to the corresponding board manual of your board.
Install MicroPython on the board
In your computer terminal, type the following commands and follow the instructions.
First, download the mpy-psoc6.py utility script:
$ curl -s -L https://raw.githubusercontent.com/infineon/micropython/ports-psoc6-main/tools/psoc6/mpy-psoc6.py > mpy-psoc6.py
Make sure you have a recent version on Python3.x installed and the pip package installer. Then install the following packages:
$ pip install requests
Finally, run the script:
$ python mpy-psoc6.py device-setup
These commands will download and run the device-setup command of the mpy-psoc6 utility and take care of all the necessary installation steps.
If everything went fine, your PSoC6™ board is now running MicroPython. If you run into any trouble, please let us know here :)
Use a MicroPython IDE
There are multiple ways to interact and program your MicroPython device. You can find more information about it in this section.
For this getting started guide, we propose to use the minimalist Arduino Lab For MicropPython.
Once installed, open the application and select the serial port of your PSoC6™ board by clicking on the connect icon on the menu bar:

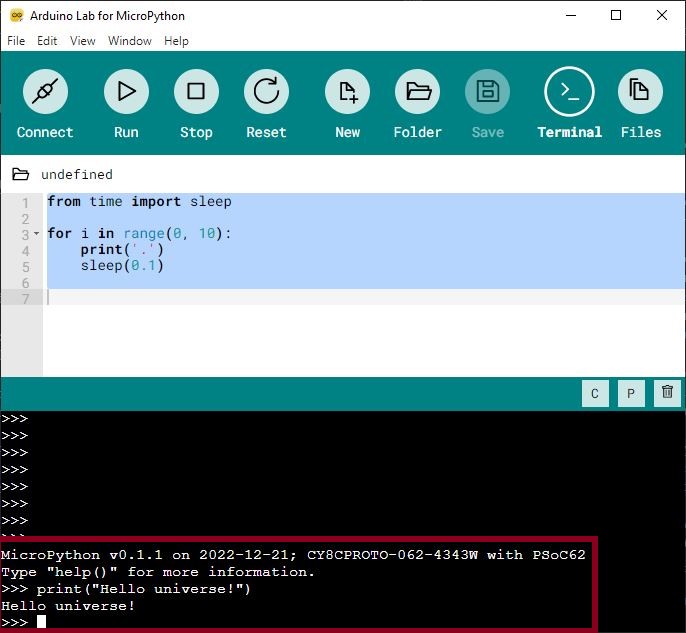
Interact with the MicroPython prompt
As in python, you can use the prompt mode. Simply start typing some python commands:
Run your first script
Let’s try now to run a MicroPython script. As a first example, you will turn on the board LED.
Copy the following code in the editor and click on run.
from machine import Signal, Pin
pin = Pin("P13_7", Pin.OUT) # LED pin for CY8CPROT-062-4343W
led = Signal(pin, invert=True)
led.on()

The red LED in the board should be now on :D
Upload a script to your device
If you click on the Files tab, you can transfer files between your computer and the MicroPython device.
As any other storage, you can upload any kind of file and format as required by your application, not only .py program files.
For example, if you name a file main.py and save it in your device, it will be automatically executed during the boot of the MicroPython device.

You are all set now to start programming with MicroPython!
Warning
Adding forever blocking loops to the main.py program might block the access to the storage device. It is recommended to use the main.py script once
stable, tested and intended to be deployed and run stand-alone.
Learn more about MicroPython in the following sections: